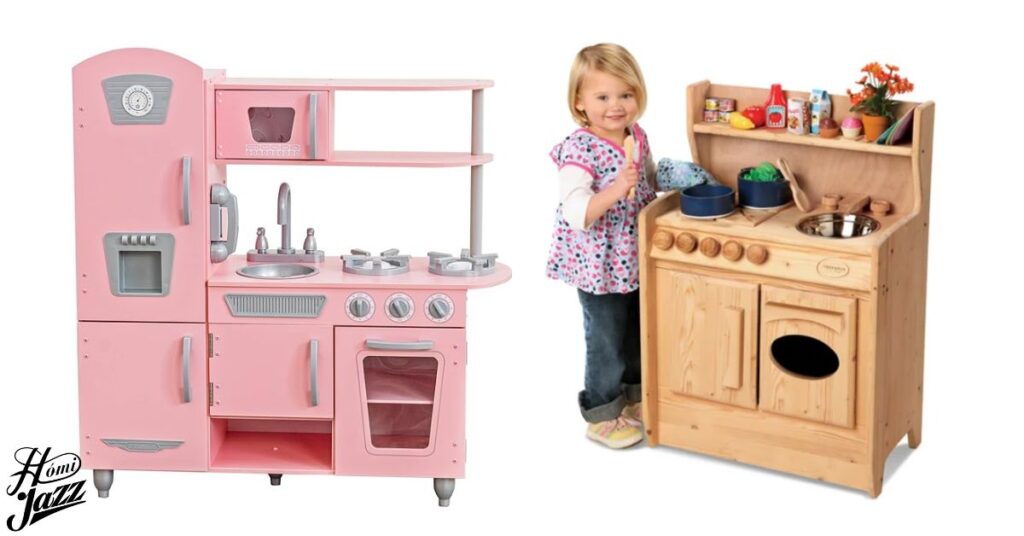
Learn how to craft a captivating play kitchen from wood, turning ordinary materials into a delightful toy haven. Discover the joy of hands-on creation while providing your little one with a cherished playtime centerpiece.
Get on a woodworking adventure and craft a magical play kitchen from scratch. Transform humble wood into a delightful haven where creativity knows no bounds. Join the journey of building memories one wooden plank at a time.
Learn the art of crafting a charming play kitchen using wood, igniting imagination and fostering hours of play. Transform raw materials into a whimsical space where children explore and create.
Materials And Tools Required
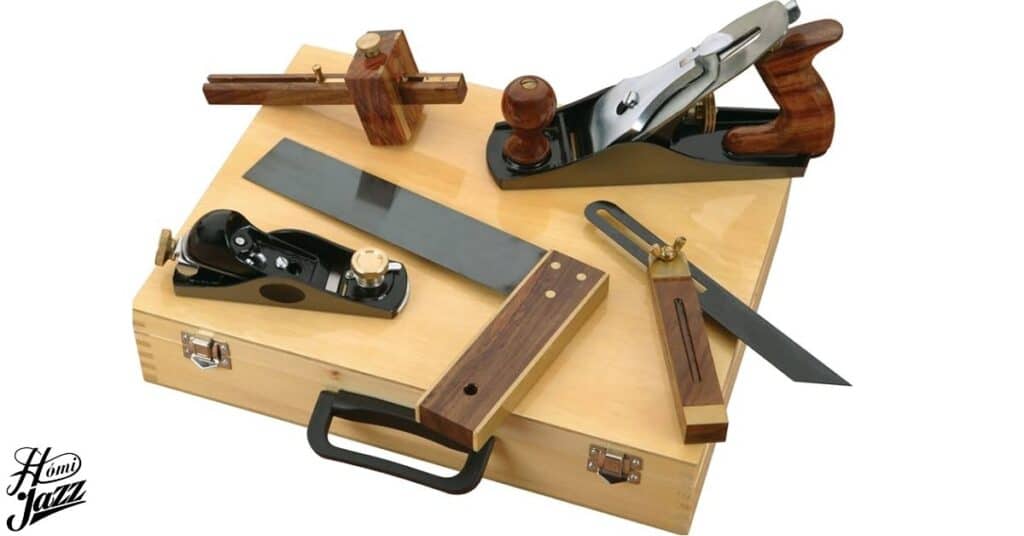
To get on crafting a play kitchen from wood gather essential materials like plywood for the frame solid brass sink faucets for authenticity and EVA foam mats for crafting details. Arm yourself with indispensable tools such as a rigid table saw for precise cuts, a heat gun for sealing foam, and a 50W laser cutter for intricate designs.
These materials and tools empower you to fashion every detail of the play kitchen, from assembling the frame with pocket holes to creating solid and glass doors. With plywood as the canvas and the right tools at your disposal, you can bring to life a delightful play kitchen that sparks joy and creativity in young minds.
Read this blog:http://HOW TO MAKE A TRUE MIRROR AT HOME
Preparing The Plywood
Before diving into construction, begin by breaking down 3/4-inch plywood sheets to desired sizes using a circular saw and table saw, ensuring precision. Assemble the entire frame with pocket holes and wood glue, filling in pocket holes with wooden plugs for a seamless finish.
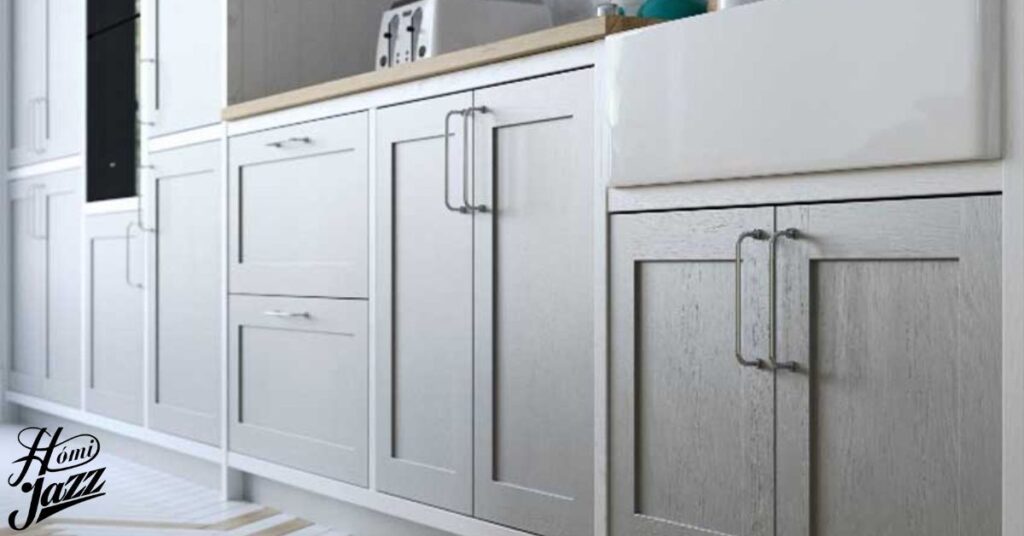
Cover plywood edges with iron-on edge banding for a polished look, trimming excess with a special tool or sharp chisel, enhancing durability and aesthetics. Construct solid doors and drawer fronts from plywood, considering optional edge banding for a cohesive appearance while ensuring clearance for smooth operation.
Constructing The Frame
Constructing the frame involves assembling it entirely with pocket holes, ensuring stability and strength with wood glue reinforcement. Use a Kreg K4 jig for quick and efficient assembly, filling in pocket holes with wooden plugs for a seamless finish.
After assembly, add edge banding to cover plywood edges for a polished look, enhancing durability and aesthetics. Consider iron-on edge banding for a cohesive appearance, trimming the excess with a special tool or sharp chisel for precision.
Read this also:http://WHAT IS A COACH HOME?
Adding Finishing Touches To The Frame
Adding finishing touches to the frame involves attaching solid doors and drawer fronts with meticulous attention to detail. Use Forstner bits to drill holes for hinges, ensuring smooth operation and alignment throughout.
For doors requiring visibility, construct frames from plywood and acrylic, securing them with pocket holes and wood glue for durability. Ensure proper alignment and clearance for smooth opening and closing, enhancing the overall aesthetic appeal of the play kitchen.
Building And Installing Doors
Building and installing doors is a crucial step in completing the play kitchen. Construct solid doors from plywood, ensuring sturdy construction and smooth operation when opening and closing.
For doors requiring transparency, use clear acrylic panels within plywood frames, attaching them securely with pocket holes and wood glue. Ensure proper alignment and clearance to maintain functionality and visual appeal.
Creating Transparent Panels
Creating transparent panels involves cutting clear acrylic to fit door frames precisely, ensuring a seamless look while maintaining visibility.
Secure the acrylic within the frames using pocket holes and wood glue for durability, allowing for smooth opening and closing of the doors. Ensure proper alignment and clearance to achieve the desired aesthetic and functionality.
Assembling Drawers
Assembling drawers involves joining the pieces using brad nails and wood glue, ensuring sturdy construction for lasting use.
Attach the bottom of the drawer with brad nails, leaving it unglued to facilitate potential future replacements or repairs. Position the drawer slides correctly for smooth opening and closing, maintaining alignment within the frame.
Crafting The Countertop
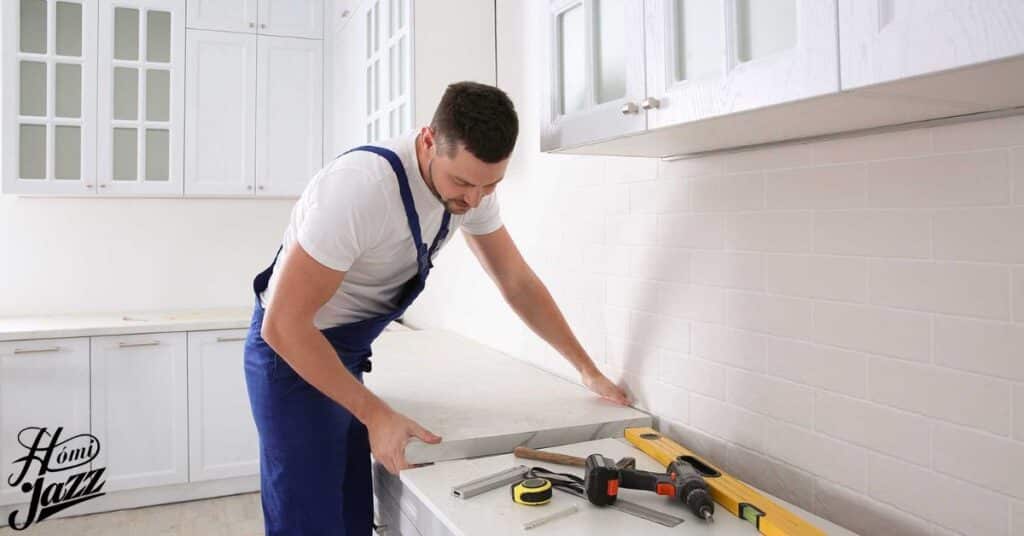
Crafting the countertop involves carefully selecting wood pieces, typically pine 2x4s, to achieve a butcher block-like appearance, ensuring they are straight and free from defects. These pieces are then run through a jointer and planer to create a uniform, square stock for a professional finish.
Once prepared, the wood pieces are cut into thin strips and arranged in a random pattern to emulate the look of a traditional butcher block countertop. Using wood glue the pieces are firmly bonded together, ensuring tight seams and sturdy construction. After assembly, the countertop is sanded to achieve a smooth surface and then finished with multiple coats of sealant, such as General’s Finish Arm-R-Seal, to enhance its durability, protect it from moisture, and provide a glossy appearance.
Finalizing With Details And Attachments
Finalizing the play kitchen involves adding intricate details and attachments to enhance its realism and functionality. This includes attaching faucet knobs and hinges to doors and drawers ensuring they operate smoothly. Adding decorative elements like oven dials, stove burners, and microwave touchpads further enhances the kitchen’s authenticity.
With careful attention to detail, the final touches are applied to bring the play kitchen to life. This may involve engraving intricate designs on doors, laser-cutting stove tops, and attaching realistic-looking hardware. The completion of these steps ensures that the play kitchen not only looks visually appealing but also provides an engaging and interactive play experience for children.
Frequently asked questions
What age is a wooden kitchen for?
Wooden kitchens are typically for children between 3 and 8 years old who enjoy pretend play.
How do you clean a wooden kitchen play?
For cleaning a wooden play kitchen, you can use a damp cloth with mild soap and water. Wipe it clean and dry it completely to prevent Mold or mildew.
How do you stock a play kitchen?
Here are some ideas for stocking a play kitchen: pots and pans, pretend food, plastic utensils, oven mitts, and dish towels.
Is a wooden play kitchen better than plastic?
Wooden play kitchens can be more durable and aesthetically pleasing than plastic ones. They can also be passed down to siblings or other children.
What wood is best for kitchens?
Hardwoods like maple, oak, and walnut are considered the best for kitchen cabinets due to their strength and durability.
What is the cheapest wood for kitchens?
Pine is a popular choice for budget-friendly kitchens. It’s a softwood but can be stained and painted to match your style.
Conclusion
Building a wooden play kitchen from scratch can be a rewarding project, creating a sturdy and long-lasting toy for your child. It allows for customization, letting you tailor the size, features, and design to your child’s preferences and your space. While requiring some planning and tools, the process can be broken down into manageable steps.
From selecting the wood and following a plan to painting and adding creative details, you will end up with a unique play space that sparks endless imaginative play. Not only will you bring joy to your child, but you will also gain the satisfaction of crafting a special heirloom they can cherish for years to come.

Howdy is behind this home blog, sharing personal stories, thoughts, and insights from daily life. I can dedicated to bringing you the latest trends, expert advice, and creative ideas to make your home the sanctuary you’ve always dreamed of. Whether you’re looking for DIY tips, home decor inspiration, home loans, rentals or renovations.