How to add trim to kitchen cabinets involves attaching decorative molding or strips of wood to the edges or surfaces of the cabinets. First, measure and cut the trim pieces to fit the cabinets.
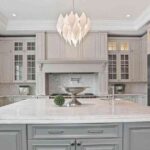
Then, secure the trim in place using adhesive or nails, and finish by filling any gaps and painting or staining for a polished look. Transform your kitchen cabinets from ordinary to extraordinary with a simple addition: trim. Adding trim is a budget-friendly way to enhance the style and visual appeal of your kitchen. With just a few tools and materials, you can give your cabinets a custom, high-end look that will impress everyone who steps into your kitchen. Get ready to unleash your creativity and elevate the heart of your home.
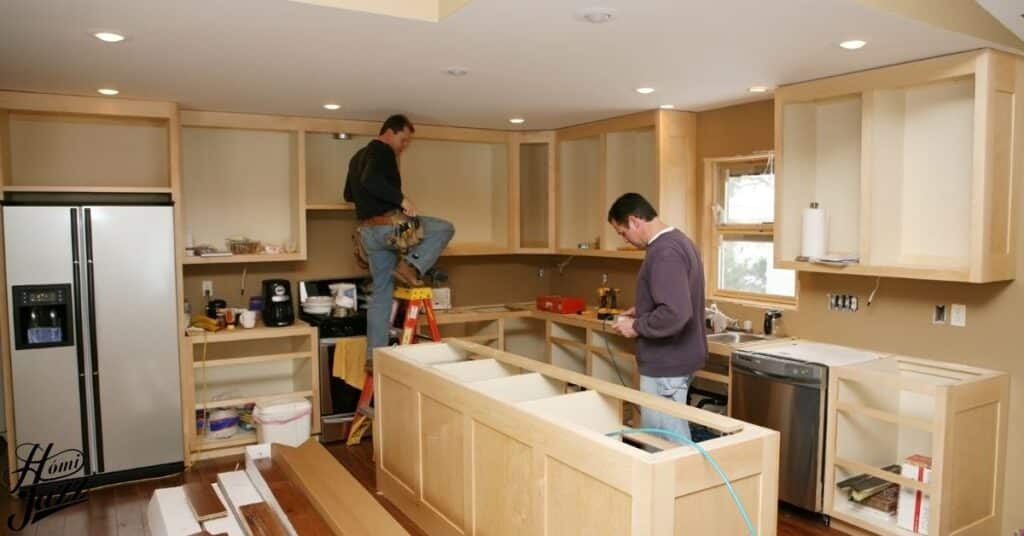
Adding trim to kitchen cabinets is a DIY project that can make a big impact. Begin by selecting the type of trim that suits your style, whether it’s simple molding or more ornate trim. Next, measure and cut the trim to fit each cabinet edge, then attach it securely with nails or adhesive.
Assessing Trim Options

When assessing trim options for your kitchen cabinets, consider the style and aesthetic you want to achieve. Choose from a variety of trim options, including traditional crown molding, sleek and modern flat trim, or rustic beadboard. Take into account the existing design elements in your kitchen, such as cabinet style and countertop material, to ensure that the trim complements the overall look.
Think about the practical aspects of each trim option, such as maintenance requirements and durability. Some trims may be easier to clean and maintain than others, while certain materials may be more resistant to wear and tear. By carefully evaluating these factors, you can select trim that not only enhances the appearance of your cabinets but also meets your functional needs.
Read this blog:http://HOW TO BUILD A PLAY KITCHEN FROM WOOD
Preparing Cabinet Surfaces
Adding trim to your kitchen cabinets, it’s crucial to prepare the cabinet surfaces properly. Start by thoroughly cleaning the cabinet edges and surfaces to remove any dirt, grease, or residue. This ensures that the trim adheres securely and creates a smooth finish.
Next, inspect the cabinet surfaces for any imperfections or rough spots. Use sandpaper to smooth out any rough areas and create a clean, even surface for the trim to adhere to. If necessary, fill in any gaps or holes with wood filler and sand them down for a seamless look. Taking the time to properly prepare the cabinet surfaces will ensure a professional-looking result once the trim is installed.
Choosing Trim Materials
Wood: Wood trim offers a classic and versatile option, available in various types like oak, pine, or maple. It can be stained or painted to match your cabinet finish.
MDF: Medium-density fiberboard (MDF) trim is a cost-effective alternative to wood, offering smooth surfaces for painting and easy customization.
PVC: PVC trim is durable, moisture-resistant, and suitable for kitchens prone to humidity. It’s available in a range of styles and finishes.
Metal: Metal trim, such as stainless steel or aluminum, adds a contemporary touch to cabinets and is highly durable and easy to clean.
Polyurethane: Polyurethane trim mimics the look of wood but is more resistant to moisture, making it ideal for kitchen environments.
Composite: Composite trim combines wood fibers and plastic resins for a durable and low-maintenance option.
Vinyl: Vinyl trim is affordable, easy to install, and resistant to moisture and warping, making it suitable for kitchens with high humidity levels.
Decorative Molding: Choose from a variety of decorative molding styles, such as crown, dentil, or rope, to add elegance and character to your cabinets.
Beadboard: Beadboard trim lends a charming, cottage-style look to cabinets and is often used for adding texture and visual interest.
Glass: Glass trim inserts offer a unique and modern design element, allowing you to showcase decorative items or add a touch of transparency to your cabinets.
Measuring and Cutting Trim Pieces
When measuring for trim pieces to adorn your kitchen cabinets, accuracy is key. Begin by taking precise measurements of the cabinet edges where the trim will be installed, accounting for any corners or angles. Use a tape measure and ensure it is flush against the cabinet surface for accurate readings.
Once you have your measurements, transfer them onto your trim material, marking where cuts need to be made. Use a pencil to mark the cut lines and a straightedge to ensure straight cuts. When cutting the trim pieces, employ a saw appropriate for the chosen material, such as a miter saw for angled cuts or a handsaw for straight cuts. Double-check your measurements before cutting to avoid mistakes and ensure that the trim pieces fit perfectly when installed on your cabinets.
Applying Trim to Cabinet Edges
Applying trim to cabinet edges is a straightforward process that can elevate the appearance of your kitchen. Begin by positioning the trim piece along the edge of the cabinet, ensuring it is flush and aligns properly with adjacent pieces. Use a level to double-check that the trim is straight before securing it.
Next, attach the trim to the cabinet using your chosen method, such as nails, screws, or adhesive. If using nails or screws, pre-drill holes to prevent splitting the trim. Apply a bead of adhesive along the back of the trim for additional support and hold it firmly against the cabinet edge until secure. Repeat this process for each trim piece until all edges are adorned, creating a polished and cohesive look for your cabinets.
Read this blog:http://HOW TO MAKE A TRUE MIRROR AT HOME
Securing Trim in Place
Securing trim in place ensures a professional finish to your kitchen cabinets. Start by choosing the appropriate fastening method based on your trim material and cabinet surface. For wood trim, nails or screws are commonly used, while adhesive is suitable for lightweight materials like PVC or vinyl.
Carefully position the trim along the cabinet edge and use a level to ensure it’s straight. If using nails or screws, pre-drill holes to prevent splitting, then drive the fasteners through the trim into the cabinet. For adhesive, apply a generous amount to the back of the trim, press it firmly against the cabinet, and hold it in place until the adhesive sets. Repeat the process for each trim piece, ensuring they are securely attached for a professional and long-lasting result.
Filling and Sanding for Seamless Integration
After securing the trim in place, the next step is to fill any gaps or holes for a seamless integration. Use wood filler or putty to fill in any spaces between the trim and the cabinet surface, smoothing it out with a putty knife.
Once the filler has dried, sand the trim and surrounding area to create a smooth and uniform surface. Start with a coarse-grit sandpaper to remove any excess filler and rough edges, then gradually move to finer grits for a smoother finish. Be sure to sand in the direction of the wood grain to avoid damaging the trim. Repeat the sanding process as needed until the surface is smooth to the touch, creating a seamless integration between the trim and the cabinets for a professional look.
Finishing Touches and Paint/Stain Options
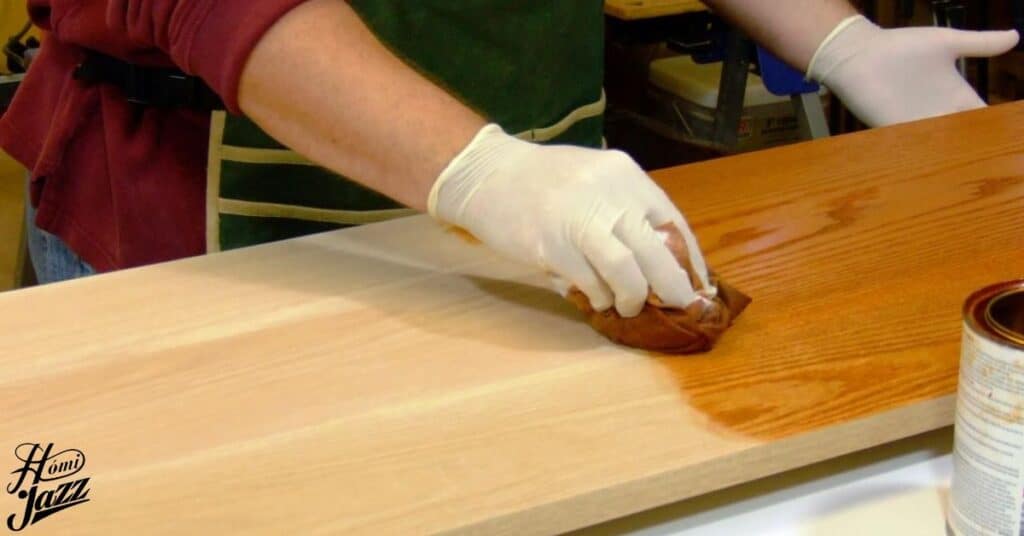
The final step in adding trim to kitchen cabinets is applying the finishing touches, which includes painting or staining the trim to match your desired aesthetic. Choose a paint color or stain that complements your cabinets and overall kitchen decor.
For a cohesive look, consider painting the trim the same color as your cabinets or opting for a contrasting hue to make a statement. Alternatively, stain the trim to enhance the natural beauty of the wood and coordinate with other elements in the kitchen.
Apply the paint or stain evenly with a brush or cloth, following the manufacturer’s instructions for drying and curing times. Once dry, admire the transformation as your kitchen cabinets boast a polished and customized appearance, thanks to the carefully chosen trim and finish.
Frequently Asked Questions
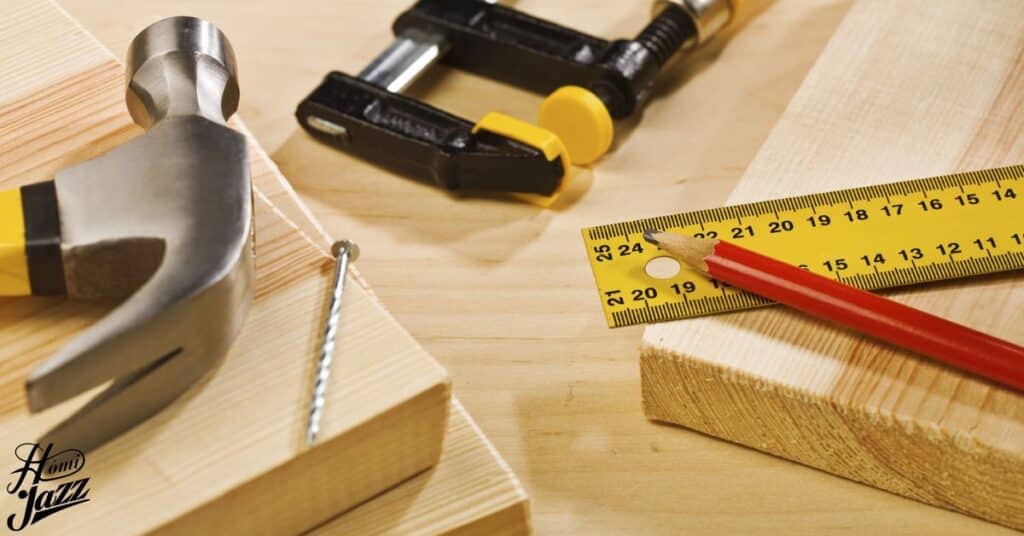
What tools do I need to add trim to kitchen cabinets?
Common tools include a tape measure, saw (miter saw or handsaw), level, drill or hammer, sandpaper, putty knife, and paintbrushes.
How do I choose the right trim for my kitchen cabinets?
Consider factors like the style of your kitchen, the material of your cabinets, and your personal preference. Look for trim that complements your cabinet design and enhances the overall aesthetic.
Do I need to remove the cabinet doors before adding trim?
It’s not always necessary, but removing the doors can make the process easier and ensure a more precise installation.
Can I add trim to laminate or veneer cabinets?
Yes, you can add trim to laminate or veneer cabinets. However, proper surface preparation is crucial to ensure that the trim adheres securely.
Do I need to paint or stain the trim after installation?
It’s recommended to paint or stain the trim to match your cabinets and achieve a cohesive look. However, the choice is ultimately up to you and your desired aesthetic.
How do I fill gaps between the trim and cabinets?
Use wood filler or putty to fill in any gaps or holes, then sand the area smooth for a seamless integration.
Can I add trim to cabinets with inset doors?
Yes, you can add trim to cabinets with inset doors. Take accurate measurements and choose trim that complements the style of your cabinets for a cohesive look.
How long does it take to add trim to kitchen cabinets?
The time it takes depends on factors like the size of your kitchen, the complexity of the trim design, and your level of experience. Generally, it can take a few hours to a day to complete the project.
Conclusion
Adding trim to kitchen cabinets is a simple yet effective way to enhance their appearance and give your kitchen a fresh new look. By following the steps outlined in this guide, you can transform your cabinets from ordinary to extraordinary with just a few tools and materials.
From assessing trim options to securing the trim in place and applying the finishing touches, each step contributes to a polished and professional result. Whether you choose to paint or stain the trim, the customization options are endless, allowing you to create a kitchen that reflects your style and taste. With a little time and effort, you can achieve stunning results and take pride in your beautifully trimmed kitchen cabinets for years to come.

Howdy is behind this home blog, sharing personal stories, thoughts, and insights from daily life. I can dedicated to bringing you the latest trends, expert advice, and creative ideas to make your home the sanctuary you’ve always dreamed of. Whether you’re looking for DIY tips, home decor inspiration, home loans, rentals or renovations.